Skip to Main Content
Back to Navigation

How to Replace a Garbage Disposal

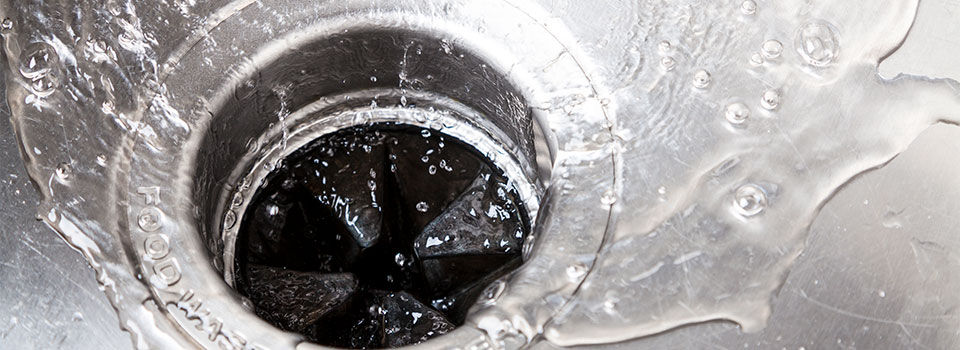
Stainless steal kitchen sink with water drops

Your garbage disposal is a big convenience—it allows you to grind up those kitchen scraps and flush them right down the sink. But after several years of use, your garbage disposal can show signs of wear and tear.

If you need to know how to replace a garbage disposal on your own, follow this simple step-by-step guide for removing and installing a garbage disposal in your kitchen sink. Soon you'll be able to start using your garbage disposal to reduce your kitchen scraps.

How to Know When It’s Time to Replace a Garbage Disposal

As with most utilities in your home, the best garbage disposal is one that you don’t have to think about. So, when should you replace your garbage disposal? Ask yourself the following questions:

  • Is your garbage disposal making a humming or grinding noise?
  • Is there a smell coming from your disposal that you can't eliminate?
  • Are you hitting the reset button on your disposal too often (or with every use)?
  • Does your garbage disposal leak beneath the sink?

If you answered yes to any of the above questions, it's more than likely time to learn how to replace your garbage disposal. A well-maintained garbage disposal will last between 10-12 years. But with heavy use or little maintenance, you may need to replace it sooner.

How do you know if your disposal is broken? There are a few simple ways to troubleshoot your disposal. First, always cut the power to the disposal off entirely before testing it. Turn off the water supply to the sink as well.

Step 1: Check for anything that might be jamming the disposal blades. Remove the rubber stopper (the baffle) from the drain. Use a flashlight or headlamp to look inside. If you see a foreign item like glass or metal, use a set of pliers to remove the object. Reconnect the disposal to see if the problem is resolved.

Step 2: Reset the garbage disposal. Under the sink, on the bottom underside of the disposal, is a small "reset" button. This button automatically shuts off your disposal if the motor overheats. If the disposal suddenly powers off mid-use, allow it to rest for several minutes, then try resetting the unit.

If your disposal is already running on borrowed time (or has stopped running altogether), it's best to replace it with an efficient new model. Do It Best has all the tools and supplies you need to easily replace and install a new garbage disposal. Follow the steps below when you're ready to replace your disposal.
Before You Start Replacing Your Garbage Disposal

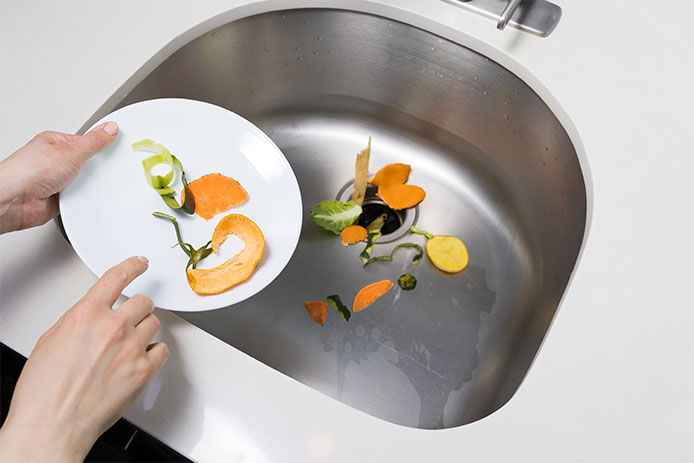
Woman trowing away food scraps in the kitchen sink

It's important to take safety precautions before you tackle any DIY home project. Replacing a garbage disposal is an easy project, but it's important to note that you're working with sharp, electrical equipment and water.

Before removing your garbage disposal, be sure to cut the power going into your disposal completely. In many cases, the disposal is plugged into an outlet beneath the sink. Unplug to cut the power. If your garbage disposal is hardwired, turn off the circuit breaker to ensure that there is no power running to the appliance at all. Be sure to flip the switch to check that there is absolutely no power running to your disposal once it’s disconnected.

For extra caution, use a non-contact voltage detector to ensure no power is running to your in-sink disposal. You may also want to wear safety glasses while you work, especially beneath the sink.

Turn off the water supply beneath the sink as well. While water may pose less danger, it can create a mess and add another layer of complication to your garbage disposal replacement.

Materials and Tools Needed to Replace a Garbage Disposal

It's always best to work in a clean, organized space. Before you start to replace your garbage disposal, empty the sink and surrounding countertop. Clear items from beneath the sink as well--this will allow you to work free from obstacles.

You may also want to put a tarp down beneath your sink or workspace. Then, should any water leak, food or other debris fall, you won't have a mess to clean up after.

To replace a garbage disposal, you’ll need the following supplies:

  • Replacement garbage disposal
  • 2 Buckets
  • Wrench and pliers
  • Putty knife
  • Screwdriver
  • Rags
  • Plumber’s putty
  • Hammer
  • PVC Glue

Insinkerator is not only the largest manufacturer of garbage disposals, they also invented them in 1927. Garbage disposals have come a long way since 1927, with advanced technologies like MultiGrind® stages and SoundSeal® technology for higher performance. There's a model for every home and every budget.

How to Remove a Garbage Disposal

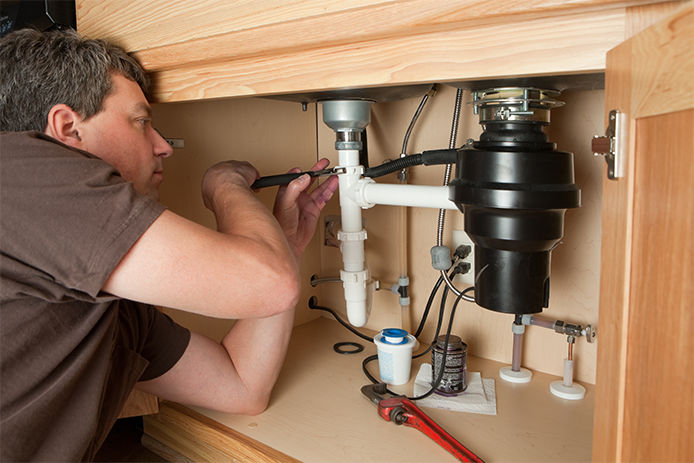
Plumber Using Adjustable Pliers on Sink Drain

Once you’ve gathered your supplies and prepared your workspace, it’s time to begin. As with all DIY projects, follow the manufacturer’s instructions that accompany our new unit. The general guidelines below may vary based on the brand and type of replacement garbage disposal you’ve selected.

Step 1: Test that the Power is Off

It's always best to do one more check on the power to make sure it's completely off. Be sure to inform other household members that you are taking on the project, so they know not to power the circuit while you're working. The unit should be unplugged as well.

Step 2: Remove the Dishwasher Hose and Drains

Working beneath the sink, you should loosen the dishwasher hose (if your garbage disposal connects to your dishwasher). Disconnect the hose working over a bucket to catch any drips. Disconnect the waste hose and water pipe.

Step 3: Remove the Fittings Around the P-Trap

For this step, you may need to use a wrench or pliers. Remove the fittings connecting the disposal to the p-trap. Water will drain from the p-trap into the bucket below.

Step 4: Support the Garbage Disposal Unit

Place support beneath the garbage disposal unit using an upside-down bucket and/or wood blocks. When you disconnect the garbage disposal, it can be a hefty piece of equipment to catch (most disposals weigh around 15 pounds).

Step 5: Remove the Garbage Disposal from Your Sink

You may need to unscrew or disconnect the garbage disposal unit from the sink drain. If a snap ring is in place, use a putty knife or screwdriver to pull off the ring. Do not work directly below the disposal as you remove it. Instead, work to the side of the unit.

Step 6: Remove the Mounting Assembly

Next, you’ll need to remove the mounting assembly from your sink. The assembly is typically secured with screws, which you will need to remove. Remove the sink sleeve, fiber gasket, and flange. Use a rag and the putty knife to clean off any plumber’s putty or remaining debris around the sink.

How to Install a Garbage Disposal

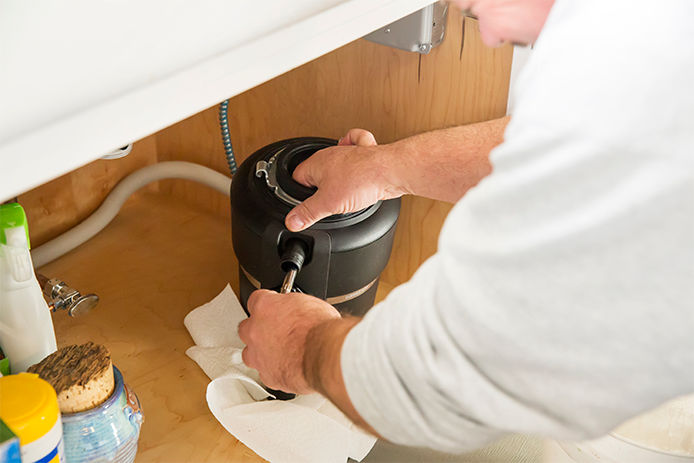
Plumber is installing a new garbage disposal in a kitchen cabinet.

Now that you’ve removed the garbage disposal, you’re ready to put it in your new unit. As previously mentioned, read all the instructions with your new garbage disposal to ensure that they follow the general guidelines below. Some garbage disposals may require additional steps or installation methods.

Step 1. Add the Rubber Seals to the Drain Flange

Your new garbage disposer should include a rubber seal for the underside of your drain flange. If your new kit doesn’t include a rubber seal, you can use plumber’s putty to keep the unit leak-free. A second rubber seal should go along the drain flange beneath the sink (on the underside of the drain). Affix the metal backup ring to the rubber seal.

Step 2: Attach the Mounting Ring

Next, you'll attach the mounting ring using a screwdriver and screws. Most kits also include a snap ring, which simply snaps into place. Securely tighten the screws.

Step 3: Remove the Dishwasher Knockout on the New Disposal

If attaching your new disposal to the dishwasher, you'll need to remove the dishwasher knockout. The knockout is a plug, which you can remove using a hammer and your putty knife or screwdriver.

Step 4: Attach the Discharge Tube and Mount the Disposal

The discharge tube is typically attached with a clamp. You’ll then align the disposal with the mounting tabs and hang it in place. Turn the mounting ring to lock the disposal into place. Typically, you will hear a clicking sound as the pins catch.

Step 5: Align the Disposal with the Drain Trap and Discharge Tube

Reattach the drainpipes to the disposal. Use PVC glue to secure PVC piles (plumber's putty doesn't work on PVC). In this step, you'll also want to connect the dishwasher line if you plan to run your dishwasher through your disposal.

Step 6: Test the Disposal for Leaks

Test for leaks in your new garbage disposal setup by turning the water on in the sink. Let the water run for about five minutes to ensure everything works properly. Watch beneath the sink to make sure that nothing is leaking and there's no need to tighten or seal any connections.

Step 7: Plug in the Disposal and Power On

It’s time to test your new garbage disposal! Turn the power circuit back on and plug in the garbage disposal beneath the sink. With the water running, turn on the garbage disposal using the switch. You should hear the disposal power up and start running.

Whether you’re removing a garbage disposal, installing a new faucet, or tackling another home project, Do It Best has you covered with all the plumbing supplies and tools you need. Explore our helpful How To guides to learn how you can successfully take on home projects with ease!