While do-it-yourself projects can be fun and fulfilling, there is always a potential for personal injury or property damage. We strongly suggest that any project beyond your abilities be left to licensed professionals such as electricians, plumbers, and carpenters. Any action you take upon the information on this website is strictly at your own risk, and we assume no responsibility or liability for the contents of this article.
Bbq Smokers 101: How to Begin Smoking Meats

Don’t rush out to buy a smoker during the first warm weekend of spring and then realize you’re not sure how to use it. If you consider what you want to smoke and how often you want to do it, you’ll end up with the right equipment and a better overall experience. Of course, you can always dive in head first if you’ve already received your smoker as a gift or a surprise. Either way, here’s how to enter the wild world of smoking meats without risking either fire or food poisoning.
Buy a Real Smoker

While a gas grill might double as a smoker in a pinch, a properly designed smoker is a better choice if you want a less frustrating experience. Drum smokers based around metal 55-gallon drums are inexpensive, but they’re also unattractive and require a lot more charcoal than other designs. For most backyard users, a ceramic egg style or a water-cooled metal bullet design is the best choice. Both of these styles are easy to use and relatively affordable. Ceramic smokers are particularly popular because they can be used for grilling other foods easily due to holding a lot of heat, while water-cooled bullets are quick and easy to control.
For more expensive equipment and greater quality, the midrange options are pellet, electric, and propane smokers. Vertical and horizontal models give you complete control over the smoke flow. All three styles are basically set-and-forget smokers that handle all the hard work for you. The cost and ease of access for the fuel type are the biggest differences, with propane smokers being far more affordable and needing no electrical outlet to power them. Offset smokers offer the most control and volume, but they’re beyond the needs and budgets of most backyard grill masters.
Season the Interior

Don’t slap down an expensive marinated brisket the first time you heat up your new smoker. First, let the smoker heat up at least once or twice as recommended by the manufacturer to clear out any residues. The first thing you smoke should be high in fat, such as a rump roast with a large fat cap. Run the temperatures high enough to get the fat to sizzle and splatter. Brush a high-temperature food oil along the inside of the smoker as well after this first use to ensure there’s a protective layer. This helps reduce rusting while giving you an easy finish to scrub clean after each use.
Choose the Right Meats

Even if you’re dreaming of a smoked turkey or a specialty rib roast, start with something simple and low cost for your first few smoking attempts. Each new piece of equipment takes some trial and error to learn, so even experienced smokers will need to tune in the exact temperatures and times needed for the best results. Pork is the most forgiving meat to start with, especially a fat marbled cut like a Boston butt. Ribs are also good to practice with, but do start with the St. Louis style since the extra fattiness gives you a margin of error. Keep lean meats like chicken and fish for when you’ve built your skills up since they’re delicate and easy to over or undercook.
The time frames for smoking meats can vary greatly by the size of the cut and the type of animal. A full-sized beef or pork brisket can take 20 hours or more, while small pieces of bone-in chicken can be done in as little as two to three hours with the right smoker. Smoking in most techniques requires two steps: exposing the meat to smoke, then wrapping it in foil to let the heat cook the interior without burning the exterior. Set aside at least six to 12 hours for the smoking process and don’t overload the smoker.
Pick Up the Right Accessories

The last piece of the puzzle for the backyard smoker is a handful of accessories that can make or break the experience. First, invest in an accurate thermometer that uses a probe so the gauge is easily read outside of the unit. Bluetooth-ready thermometers are the best option because they let you watch the temperature from anywhere. Don’t forget some sturdy tongs and meat forks that can handle the weight of large rib racks and roasts. Heavy-duty gloves are a good idea since the handles and lids of many smokers get quite hot after hours of constant heating. If you like to squeeze and pinch meat to determine how well done it is, try some food-safe latex or nitrile gloves to give you a little heat protection while allowing you to feel the texture.
Finding Woods

All smoking requires some kind of flavorful wood, unless you only prefer the lighter taste of charcoal alone. Oak, cherry, hickory, apple, and even cedar planks are all widely used for smoking. You can apply these fragrant woods as pellets or chips, depending mostly on the size and style of your smoker.
Wood pellets are the easiest to use, take up little space to store, and provide a strong enough flavor if you choose the right variety. They burn evenly and are hard to smother unless your smoker malfunctions. Since the pellets can burn at a higher temperature, they work with all meats. Most people choose pellet smokers today, especially now that flavored pellets are widely available and tend to cost the same as wood chips.
Wood chips can produce a stronger flavor, but they create less heat and are better used for thinner and smaller cuts of meat. Larger bone-in roasts and racks of ribs can take too long to safely cook over chips, not to mention something like a whole chicken or turkey. They also require more attention to stay burning evenly without getting too hot with little smoke or smothering out. Yet many people swear that the flavor is superior, especially from more delicate woods with less assertive flavors. Chips are also more widely available and can be less expensive than pellets. Many smoking fans end up getting a smoker for each method so they can enjoy both styles.
If you want to try making your own supplies, make sure you’re identifying the wood properly. Cut all chips and logs by hand rather than with a chainsaw to avoid getting oil and gas on the wood. In most cases, you’ll likely find it’s easier just to buy prepared smoking woods.
Make this summer the season you master smoking meats in your own backyard. Pick up a smoker, some wood chips, and the right tools and you’ll be on your way to a perfect brisket.
Related Articles
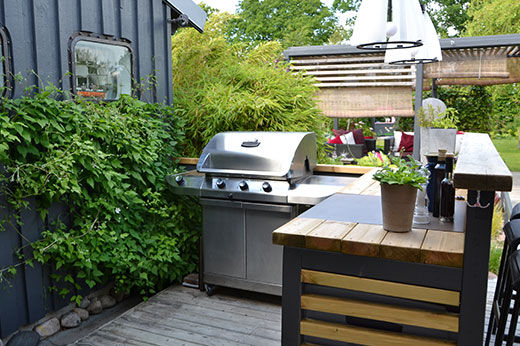
Elements of a Great Outdoor Kitchen
Seven items to add flair and excitement to your next backyard barbecue
Learn more

5 Reasons to Add a Backyard Griddle to Your Outdoor Kitchen
Find out why these flat-top wonders are the hottest trend in outdoor cooking!
Learn more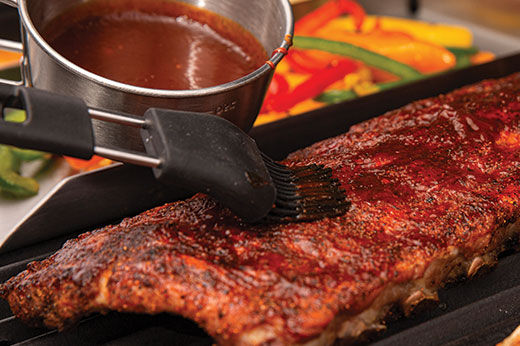
Grilling Accessories & How to Use Them
Check out these helpful tools to expand your grilling capabilities
Learn more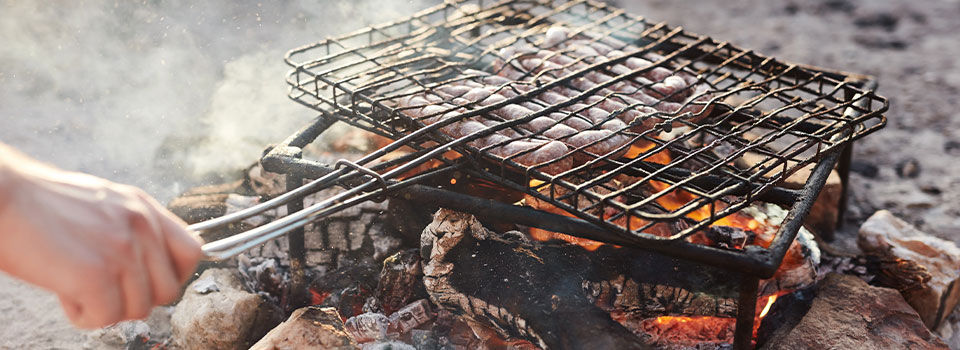
Guide to Cooking with a Fire Pit: Tips and Considerations
Get ready to cook more than just marshmallows in your backyard this summer
Learn more