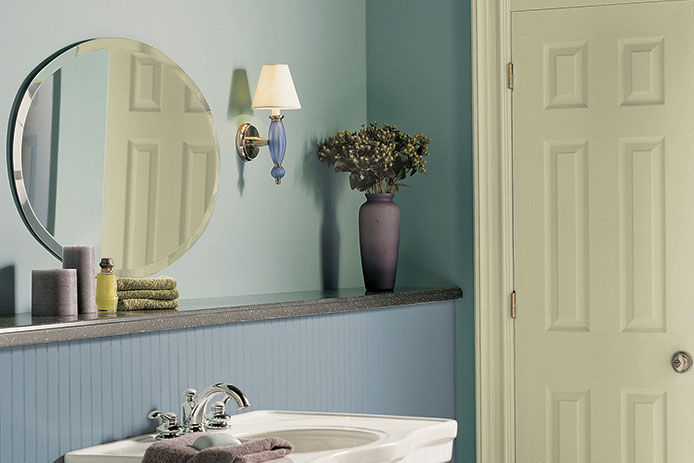
- No shine, but hard to clean
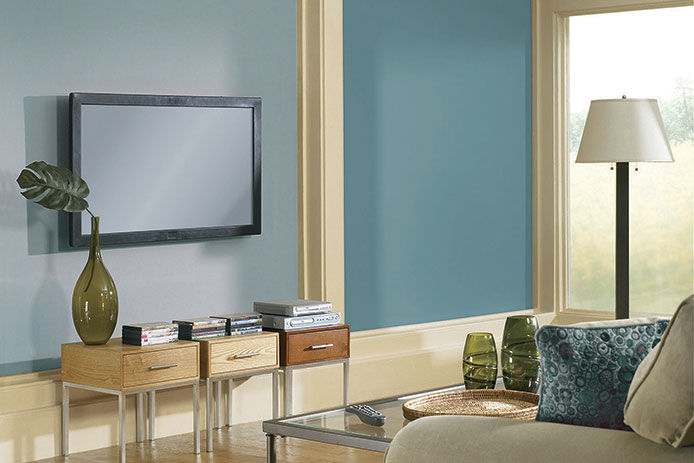
- Great for hiding imperfections
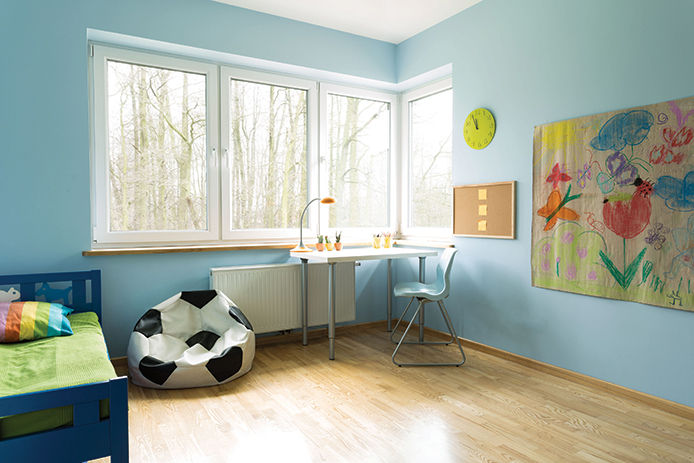
- Best used in bedrooms


Try a Tinted Primer
Tinted primers can be gray or a color similar to your finish paint. Either option will help to cover your existing wall color easier requiring fewer coats. You'll also enjoy a more vibrant color!